This website uses cookies so that we can provide you with the best user experience possible. Cookie information is stored in your browser and performs functions such as recognising you when you return to our website and helping our team to understand which sections of the website you find most interesting and useful.
How can we help?
Team & Elite
Have a question about our team/elite solution?
Check out our dedicated Customer
Support center.
How can we help?
Have a question about CITYPLAY?
Check out our dedicated Customer Support center.
CITYPLAY FAQS
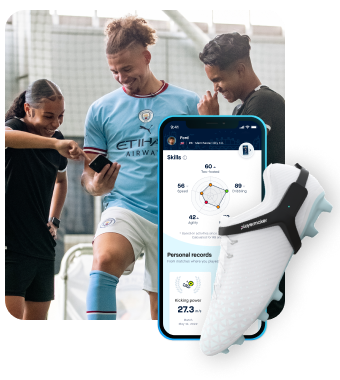
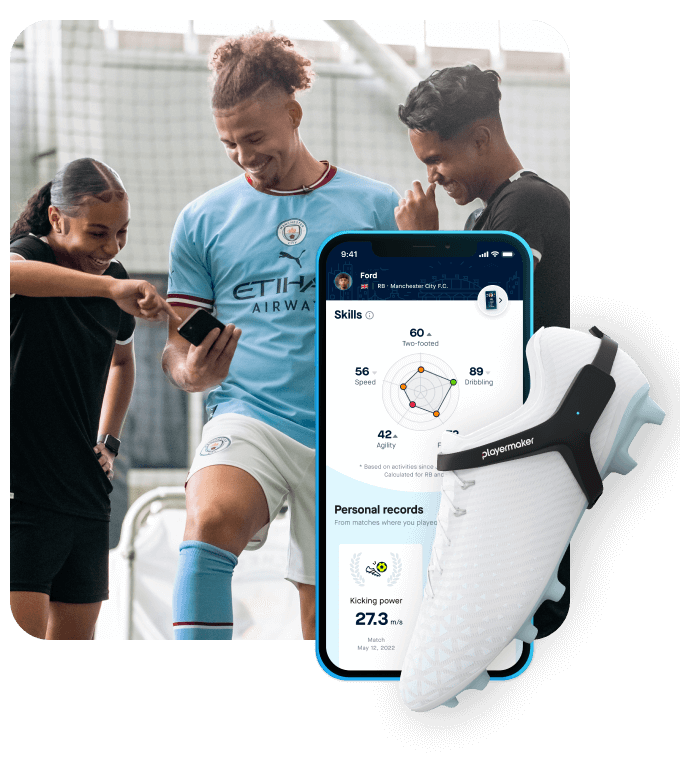
The next generation of Playermaker’s technology, developed in partnership with Manchester City Football Club.
Smaller sensors, leaner straps and a battery with greater capacity and life span.
The newly advanced CITYPLAY app includes additional physical and technical data, exclusive in-app content such as position-specific drills, personalized tips, and recommendations coming from Man-City experts.
1. Open your CITYPLAY app.
2. Create a new account or log in to your existing account.
3. After, a Verification Code will be sent to the email address that is associated with your CITYPLAY account.
4. Go to the relevant email inbox and retrieve your Verification Code.
5. Next, enter your Verification Code onto the app and press ‘Confirm
If you do not know where to find your Activation Code, then read this article first (https://cityplay.zendesk.com/hc/en-us/articles/9546903795217).
If you cannot find your activation code, follow this link (https://cityplay.mancity.com/retrieve-activation-code/)
Before syncing, make sure you have stable internet connection, your phone’s Bluetooth is ON and sensors are paired to your profile.
1. Place both sensors inside the case after the session
2. Both sensors will blink white
3. Keep your phone and sensors in close proximity to one another.
4. Open the CITYPLAY app.
5. Your new activity will automatically pop up on your app.
6. Select the relevant activity type: Match or Training.
7. Now, analyze your session’s data!
1. Remove your sensors from the case.
1.1 Blue light = sensor is recording a session.
1.2 No light = sensor is OFF or has zero battery. Plug your case into the charger to turn the sensor ON / to charge your sensors.
1.3 Red light = sensor has a low battery and requires charging.
1.4 White light = sensor contains data from a recent session that needs to be synced or deleted prior to conducting a new activity.
2. Check your sensors’ status from the app.
3. Plug your case into the charger to observe your sensors’ light indications.
4. Green or orange lights mean that you have enough battery to conduct a session.
1. Place both sensors inside the CITYPLAY case.
2. Plug the charging cable into the bottom of the case and into a power source.
3. Check that your sensors’ lights are shining a solid color (green / orange / red).
3.1 A solid color (light) indicates that your sensors are charging successfully.
3.2 A blinking color or no color (light) indicates that your sensors are not charging successfully.
Important Tips:
1. Charge your sensors after each performed activity.
2. It takes approximately 3-4 hours to fully charge your sensors from zero battery.
3. The minimum battery life required to start and record a session is ≥ 20%.
4. When your case is not plugged into the charger, then your sensors will go into rest mode and not flash any light (to preserve battery life).
Playermaker FAQS
The first model of Playermaker’s technology, designed for comfort and to operate anywhere, on any field, outdoors and indoors without any infrastructure.
The app includes 15+ technical and physical metrics, activity summary, overtime performance, leaderboard and more.
1. Make sure both sensors have enough battery to record an activity
2. Remove both sensors from the playermaker case
3. Both sensors will blink Blue
4. Place the sensors inside the straps
5. Place the straps on your boots
Train and play!
6. Take out both sensors from the straps
7. Place the sensors inside the Playermaker case
8. Open the app
9. Sync the data
1. Place both sensors inside the Playermaker case.
2. Plug the charging cable into the bottom of the case and into a power source.
3. Check that your sensors’ lights are shining a solid color (green / orange / red).
3.1 A solid color (light) indicates that your sensors are charging successfully.
3.2 A blinking color or no color (light) indicates that your sensors are not charging successfully.
Important Tips:
1. Charge your sensors after each performed activity.
2. The minimum battery life required to start and record a session is ≥ 20%.
3. When your case is not plugged into the charger, then your sensors will go into rest mode and not flash any light (to preserve battery life).
1. Turn your phone’s Bluetooth ON.
2. Make sure both sensors are ON.
3. Place both sensors inside the Playermaker case.
4. Keep your phone and sensors in close proximity to one another.
5. Open your Playermaker app.
6. Go to ‘Settings’.
7. Press ‘Playermaker Account’.
8. Tap ‘Pair sensors’.
9. Select ‘Scan for sensors’.
10. Make sure the sensor IDs on the app match the sensor IDs on the back of your sensors. After, tap the checkboxes.
11. Press ‘Pair with app’.
12. Wait until the pairing process is complete.
1. Open your Playermaker app.
2. Create a new account or log in to your existing account.
3. After, a Verification Code will be sent to the email address that is associated with your Playermaker account.
4. Enter your Verification Code, that was sent to your email, onto the app and press ‘Confirm’
5. Enter your Activation Code onto the app – you received it to your email after you placed your order.
6. Your Playermaker membership will now be activated.
1. You’ll receive an email with your Activation Code directly after purchasing your subscription.
2. Go to the inbox of the email that was used to purchase your subscription plan to retrieve your Activation Code.
3. If you cannot find your Activation Code email, then use this link to retrieve your Activation Code (https://playermakerprd.wpengine.com/retrieve-activation-code/).
Team & Elite
Have a question about Team & Elite solutions?
Check out our dedicated Customer Support center.
TEAM & ELITE FAQS
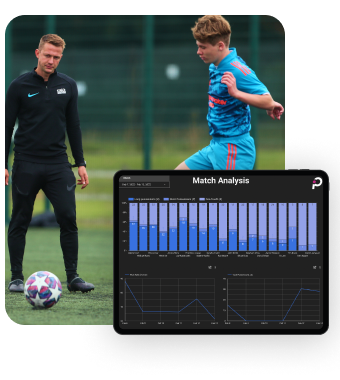
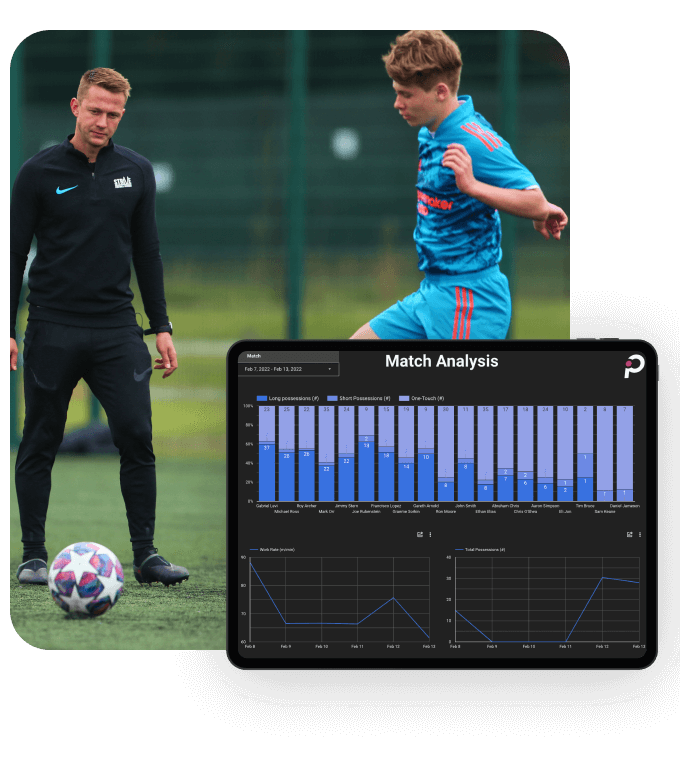
Team & Elite packages allows any coaching staff to get a full view of your Players’ performance data.
It provides an access to an online coaches dashboard with an in-depth view of your team and players performance, export data, get summary reports.
Our Elite pakacge also provides an in-depth Gait data for injury prevention and rehabilitation.
1. Make sure the iPad Wifi is on and connected
2. Log into Playermaker Squad app on the iPad and select the team being used
3. Make sure the Bluetooth icon is blue on the app
4. Select ‘New Session’ and then select the event type:
4.1 “Start Training” or “Start Match”.
5. Wait for all participating players to transition from ORANGE to GREEN.
6. Verify that the sensors LED is blinking GREEN
7. Players can now collect their sensors and strap them up!
1. The first step is to select ‘Squad’ on the homepage of the dashboard
2. On the left-hand side of the page you will see the option to select ‘Edit Players’
3. To Edit the players profile you must first click on the selected player’s ‘Edit’ icon on the right hand side of the screen
4. Once selected you will be given the option to fill out all the players details
5. Click ‘Save’
1. Select the Squad page on your dashboard
2. Select “Edit Players” on the left Panel of the screen
3. Click ‘Edit’ on the player you wnat to change his sensors
4. Click the sensor you want to change (Right or Left)
5. Select a new sensor or Unassign
6. Click ‘Save’
1. Select the Session you would like to view the data from (from the Events panel)
2. Click on the ‘Export Data’ icon
3. From the drop-down Select ‘Training Summary (xlsx)’
4. The export file will be exported to your computers download folder
You can also download multiple sessions data into excel directly from your Home screen
